Friday, July 26, 2013

DIY Ball pit, known as a zoo in some circles

This is a project I recently finished with my friend Kelly. 
She saw it on pinterest and asked if we could make it. 
yes. 
That is the answer, Here are some of the final pictures. 
 Here is the beginning of a stuffed animal zoo


Here it is used as a child timeout box, ha ha thats a joke, he ran in there as soon as it was finished. 


But my favorite use which I will be using mine as is a ball pit:


Love it!

Miriam

P.S the tutorial well its kind of a tutorial will be up in a minute or many.

Thursday, July 25, 2013

Your everyday every house Windsor chair REDO

 Imagine a natural windsor chair.  Like these

 That is what we started with. Then my friend Katie sanded all the seats down with a 150 grit, make sure you get all the finish off.

 This takes many hours, if you want to use an electrical sander a mouse one will probably be your best bet. We sanded first then did we taped all around the part where the spindles meet the seat.  Then we started painting the backs and bottoms of the chair with Zinsser oil based primer. We used a roller and then a wooser oil paint brush. This is something you should do with gloves (we did not) and in the right temperature. If its too hot your paint will start to thicken very quickly and you will get goops all over your chairs.


 If you get tons of goops never fear you can just wait 24 hours and then lightly sand them off with a 150 or higher sandpaper and it will be nice and smooth for your final paint coat.  So after we zinssered them all we waited at least 24 hours and then started painting the chairs with the cream with our nice brushes. Then you end up with this.

 Ready for stain! We tested a small spot to make sure we would like the look


 It had this barnwood look which looked very rich and full of character so we wiped on the stain and tried to be careful to not touch the bottom of the spindles. This did not always work as you can see here


 at the bottom so I came back through and touched them all up like this


going up with the brush, it was like cutting in on a wall but on a much smaller scale.


Then I ended up with this on all the spindles of all the chairs!


Then I was ready for my finish. 
Before you put your finish on make sure to go and touch up any makes on the paint.
I used Rustoluems water based polyurethane for my finish. I did some research and saw rave reviews about the ease of application and how well it looked when dried so I tried it. I used a foam brush and did 3 coats (as recommended on the label) It only takes 2 hours to dry!! And it cures in 3 days!! So I used it and LOVE the results. I can’t believe how beautiful it turned out! There were also no fumes, it smelled like shampoo to me! I am sold on this polyurethane and would recommend it to anyone for ease of use (you can also see when applying if you have put too much on there, its like a fluorescent purple white color so you just go back and smooth it out until clear) 
I also used the polyurethane on the paint to give it extra strength. 
It didn't yellow too badly and turned out well.
 

 These chairs went from plain wood to a much richer and older looking finish.


 As with all stain you can't control how the wood will take it so the end look of the chairs was this


 The one of the far right was the most different but I think they all have so much character now. I really love how they turned out. Here are some pictures of the chairs in action.


Who knew a windsor could look to elegant. 
Miriam


Tuesday, July 23, 2013

Katie's table delivered!


They are delivered wohoo!!

Miriam

Your Grandma's old oak dinning table


This is my friend Katie's table. It’s a very large tiger oak table. This table has 3 inserts so it is huge! She wanted it refinished. So I started.


To begin with you need to remove all finish and stain. You could use a chemical stripper but with tables I prefer good old fashioned sanding. I got out my ¼ sheet sander and started with a 60 grit. Table tops usually have many layers of finish so you need to start with a rough sandpaper not all sand papers are created equal so get some good stuff. I got this 60 grit at Lowes. Its by 3M. It said it worked faster and lasted longer, it was also more expensive at about $1 a sheet but it did the job nicely and quickly. Here is the table after 10 minutes


There were a few parts of the table that I had to hand sand.


 The edge needed this but with a few tricks it worked well  as you can see.


Here we are with all the finish and stain gone! Wohoo! It took many hours but I don't mind that.


Next I sanded it all down with a 150 grit which is what I like to use on oak right before I stain. So I sanded it all down and then used my shopvac to get all the dust off then I used my hand to get the fine dust off. I tested it with a rag and it was clean and ready for stain. 


See its all ready for stain!

 My friend chose minwax espresso stain.


So I gathered some rags and handy gloves


I did some testing under the table to see how long it would take and how dark I could get it. It was kind of a disappointment.


 The top left is two coats 15 minutes each, right next to it is one coat of 10 minutes, next to that is 7 minutes and next to that is wipe on and wipe off. The Bottom half is all two coats at different time intervals. As you can see it all looks exactly the same so I was rather disappointed that their instructions say it gets dark the longer you leave it on and that the more coats you do the darker it is. Maybe it was because it was oak. Either way I am not a big fan of minwax anymore and hope later to try out some wood dyes on other projects. This is essentially what I got:

This was the color we really wanted, which is what comes out of the can and then you wipe it off...


and get this


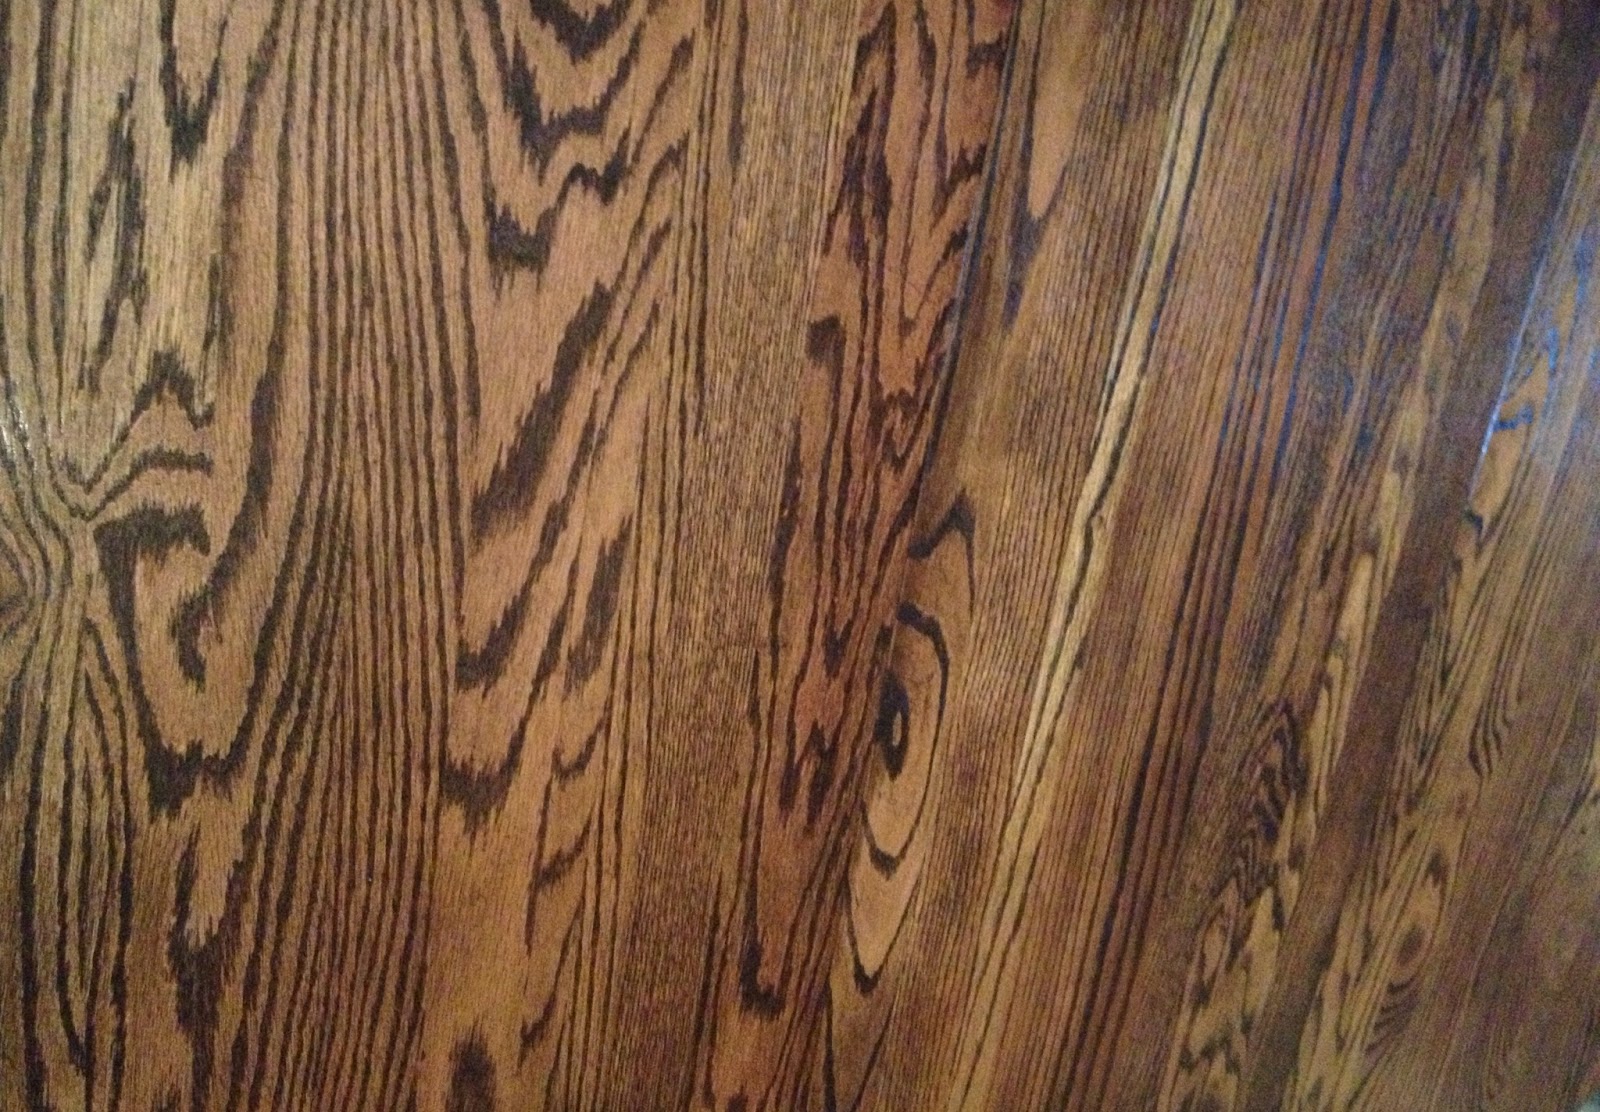
 I guess that’s just minwax. It still looks beautiful though and has a lot of character already. I did not use a wood conditioner and I am kind of glad I didn't because I think it would have been even lighter which was not desired. I left the stain on for 10 minutes and then wiped it all off.

* Warning you shouldn't stain in the sun light, at least I don’t think you should, I was in my garage and the sun was shining in on a few places and the stain would bleed little dots all over so I had to keep wiping them off until I figured out it was the sun and closed the garage door.


I let the stain dry for 24 hours then I started my first coat of waterlox finish. It was my first time using it but I heard and read so many good things that I bought some. Click here for a fantastic youtube Tutorial. It costs $33 a quart on amazon.com but I think its well worth it. I wanted an easy to apply finish that would be strong enough for a table. It is also supposed to hide scratches easily and after years of use you can  sand it lightly with a 320 grit and reapply which you can’t do with a polyurethane. So I used a foam brush and brushed it all on thinly and evenly. You need to let some airflow in the room its drying in or it wont set up right. I waited 24 hours as the can stated and put on my second coat.  After each second coat I lightly sanded with a 320 grit from 3M. I did 5 coats total.

Then I let it sit and cure for 7 days. I believe the longer you let it cure the better.

So I did this table backwards and waited until I was finished with the table top to fix the wobbles. Fix the wobbles first! I had my husband fix the wobbles with wooden dowels. If you want to know how he did it you can comment and Ill tell you.
Then I painted the legs with Zinsser oil based primer (no sanding involved) 

Painted it with the cream color my friend chose( Let your primer and paint dry as stated on the can before you put your finish on)  and then put a coat of Rustoluem water based polyurethane.


 It was FANTASTIC. The finish isn't too shiny it’s a satin really. And then let that cure for 3 days 

Here is the end result again! I think it all looks lovely!


a close up of the grain.

I am going to deliver her table and chairs and then take some photos of them set up in her house! I am so excited for her to see them. Here is the Reveal

Next up is the chairs and how they were refinished.


Miriam