I went to the thrift store the other day and found something I really love. I don't know who made it but I love it.

I don't think I will ever find a matching on but thats ok because I like it as one. Best part it was only $3.00

 white since the day I brought them into my house. I finally did it! Although I made a mistake and will have to repaint some of the fronts white (as you can see. I mixed a grey blue to line the insides and I think I love them. We will see though. Anyway it should have been a quick 2 day fix but it turned
 Then they needed some semigloss white and my special mixed color for the insides. I love them but I think they look funny with the wall color. They are staying though!


 Cute but still not what I wanted
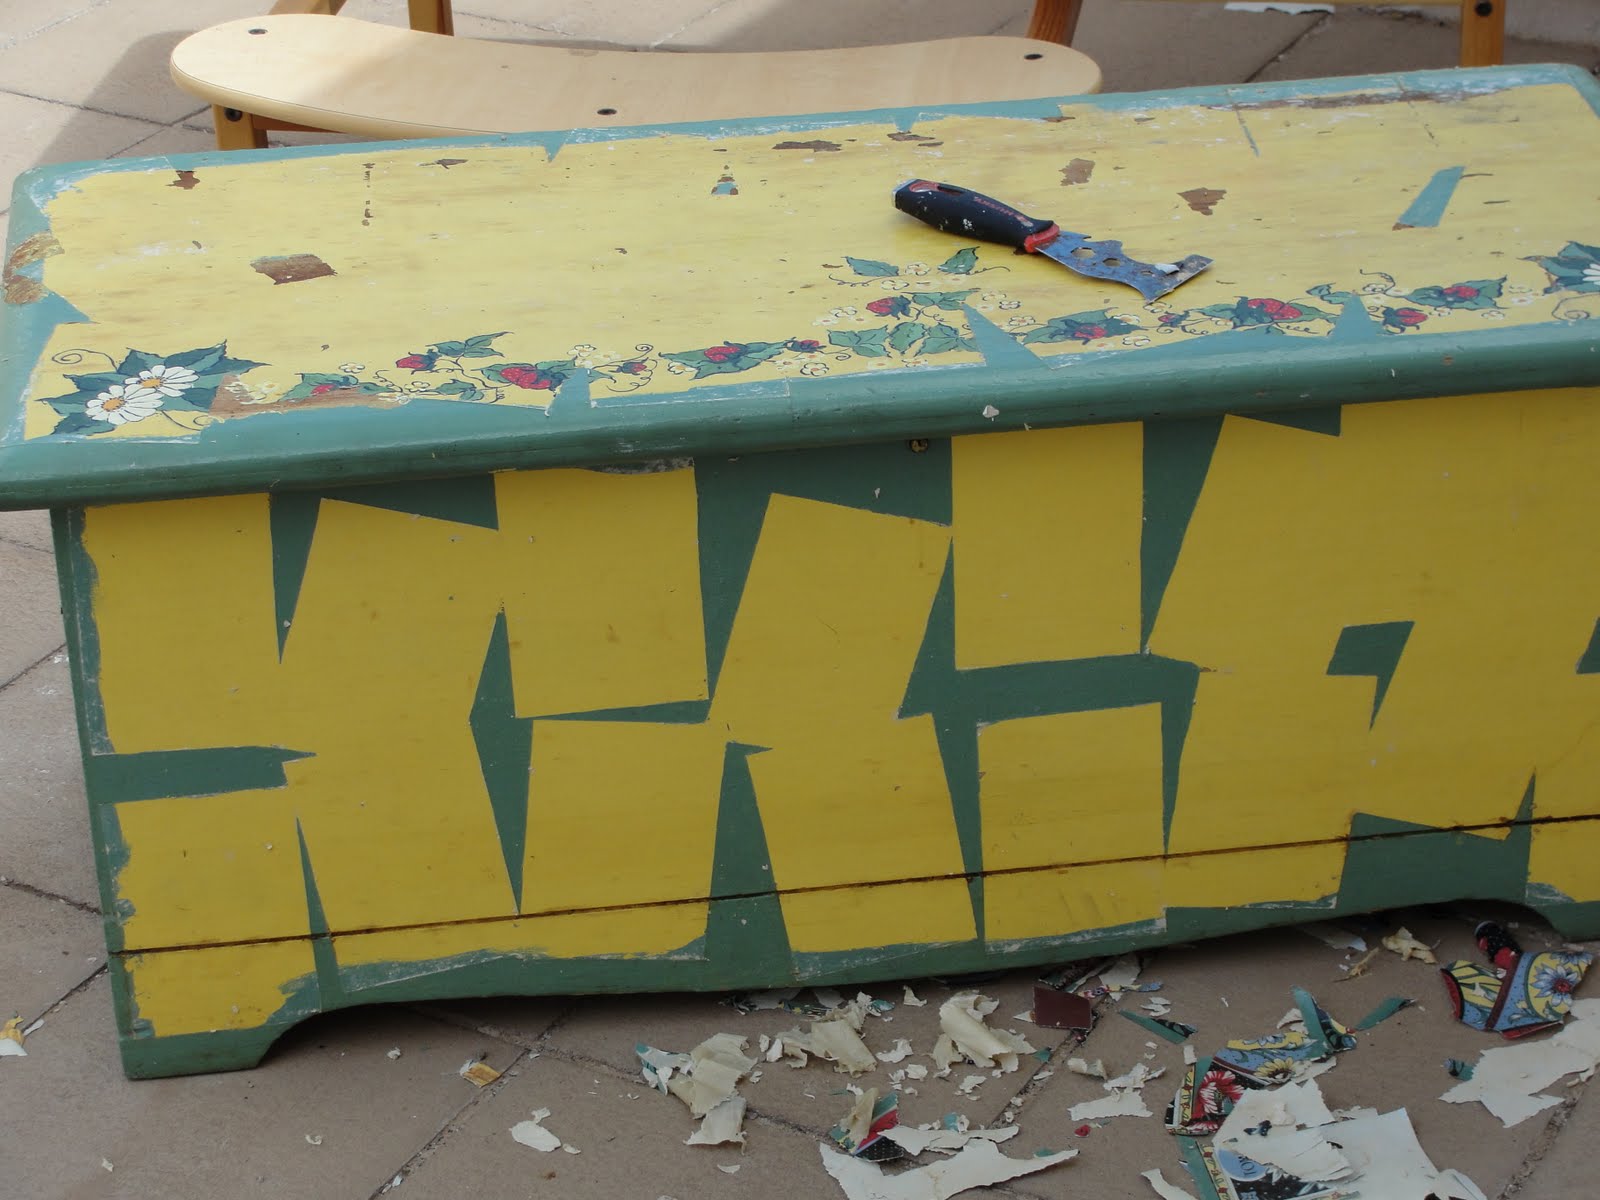
 I needed to fill the sides on the top piece because they were pretty bad but I left most of it raw (no wood filler!). I did this because I have used wood filler before on a staining project and while it is technically stain able it looks horrible and unatural with a dark stain. It doesn't pick up the stain like wood.
 Luckily I spotted these when wetting the top down to check how my stain wood take to the wood (a very necessary step!) Here it is after a damp rag:
 My husband even saw them! I was almost going to just stain anyway ( I was so sick of sanding) but ended up getting my scrapper and taking the tiny pieces of paint out of the wood. (I am so glad I did! It would have been so ugly with all the little speckles of paint and all that hard work would have been wasted) Then I had to sand it all down again with the 220 and I was ready for stain!
  I did one coat of the dark walnut and LOVED the color. I wiped it all off 3 times and let it set for a day. Then I polyurethaned it. Only one coat. My neighbor Melanie gave me a great tip on being careful to use only one stroke all the way across the wood without trying to go back over and fix it. This prevents the ugly smudged look. GREAT TIP.
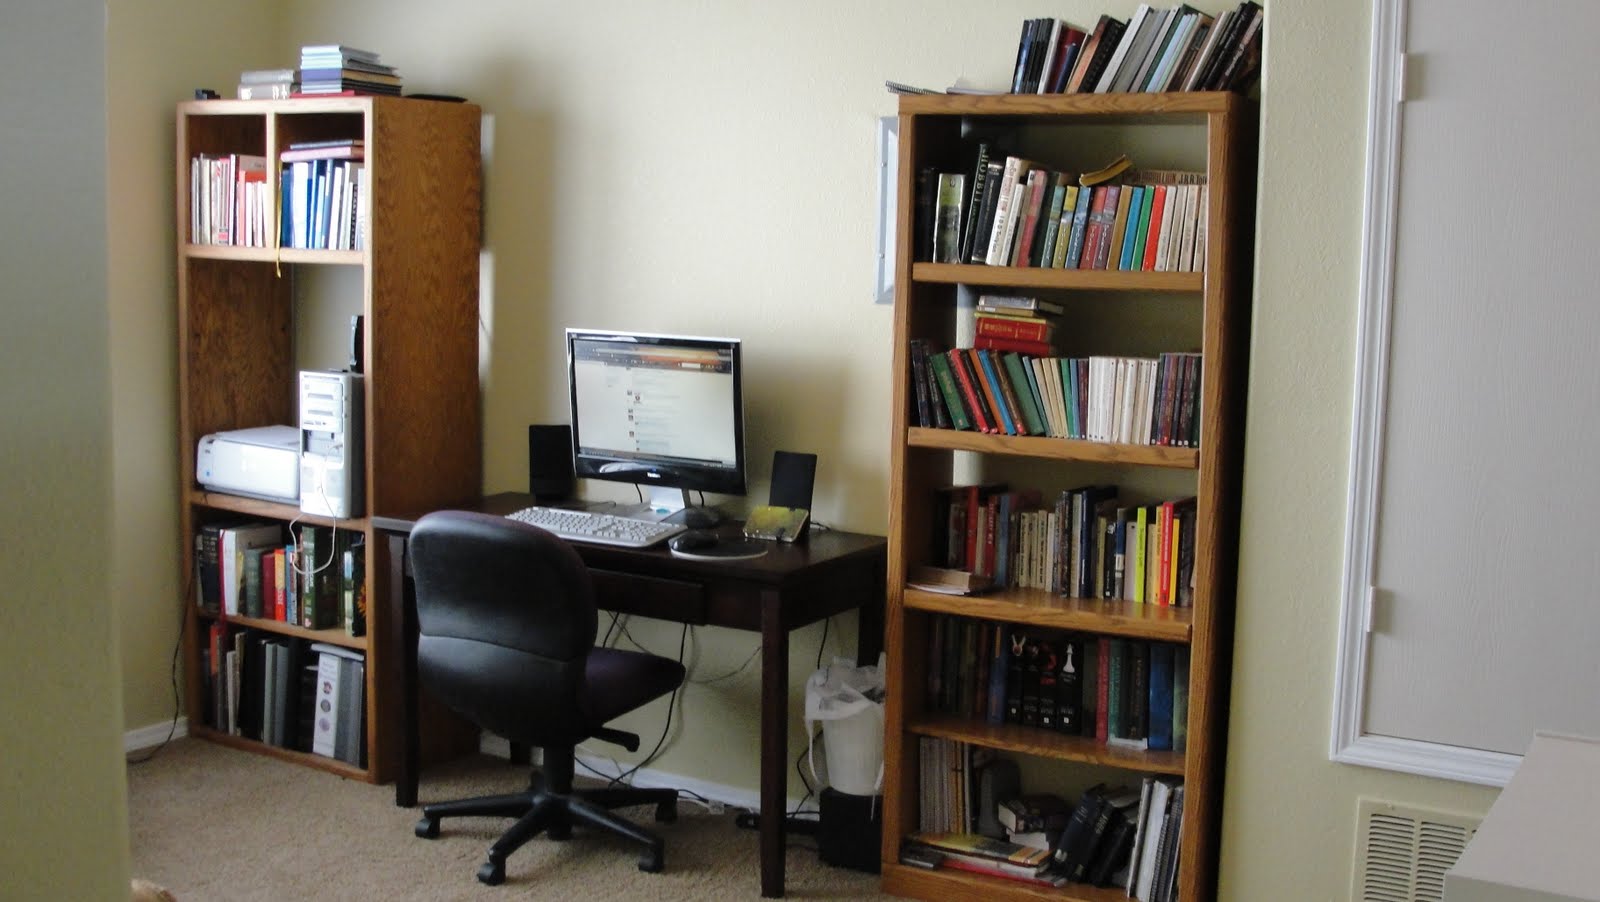
 I did two coats of white eggshell glidden as my primer then one coat of valspar white semi gloss. LOVE IT.


 I LOVE it. This fixture is for the stairway. Then we installed it!
 I LOVE the glass on it! So beautiful.
 I LOVE IT.
 It was only $5! so I bought it and quickly touched it up with some white paint and its all better now! I lOVE it! It will be perfect in my daughters room.
 So I FINALLY found some paper I loved and replaced the old stuff. Its wrapping paper!
  I am very happy with the final product now! I am SOOO glad I can rip it out and replace it!

 w that was horrible to get off. I need a couple more coats of white on the bottom and then I will finish the top!! Just a little mosre sanding to get it smooth then stain wipe repeat and then polyurethane and then DONE. I feel like I am running a marathon on this project. It will be worth it though!