My husband and I aquired this dresser. It wasn't much to look at when we started so I wanted to make it pretty again. First here is the maker:
Such a cute sticker. I was also happy to see it was dove tailed and on the back it says its Satin Wood
I started with this:

Yes the hardware was dangling off the drawers
I had to think about what to do with this dresser because of all the cosmetic damage.
So I decided I needed to paint the drawer fronts and the sides of the dresser
and that I would stain the other parts.
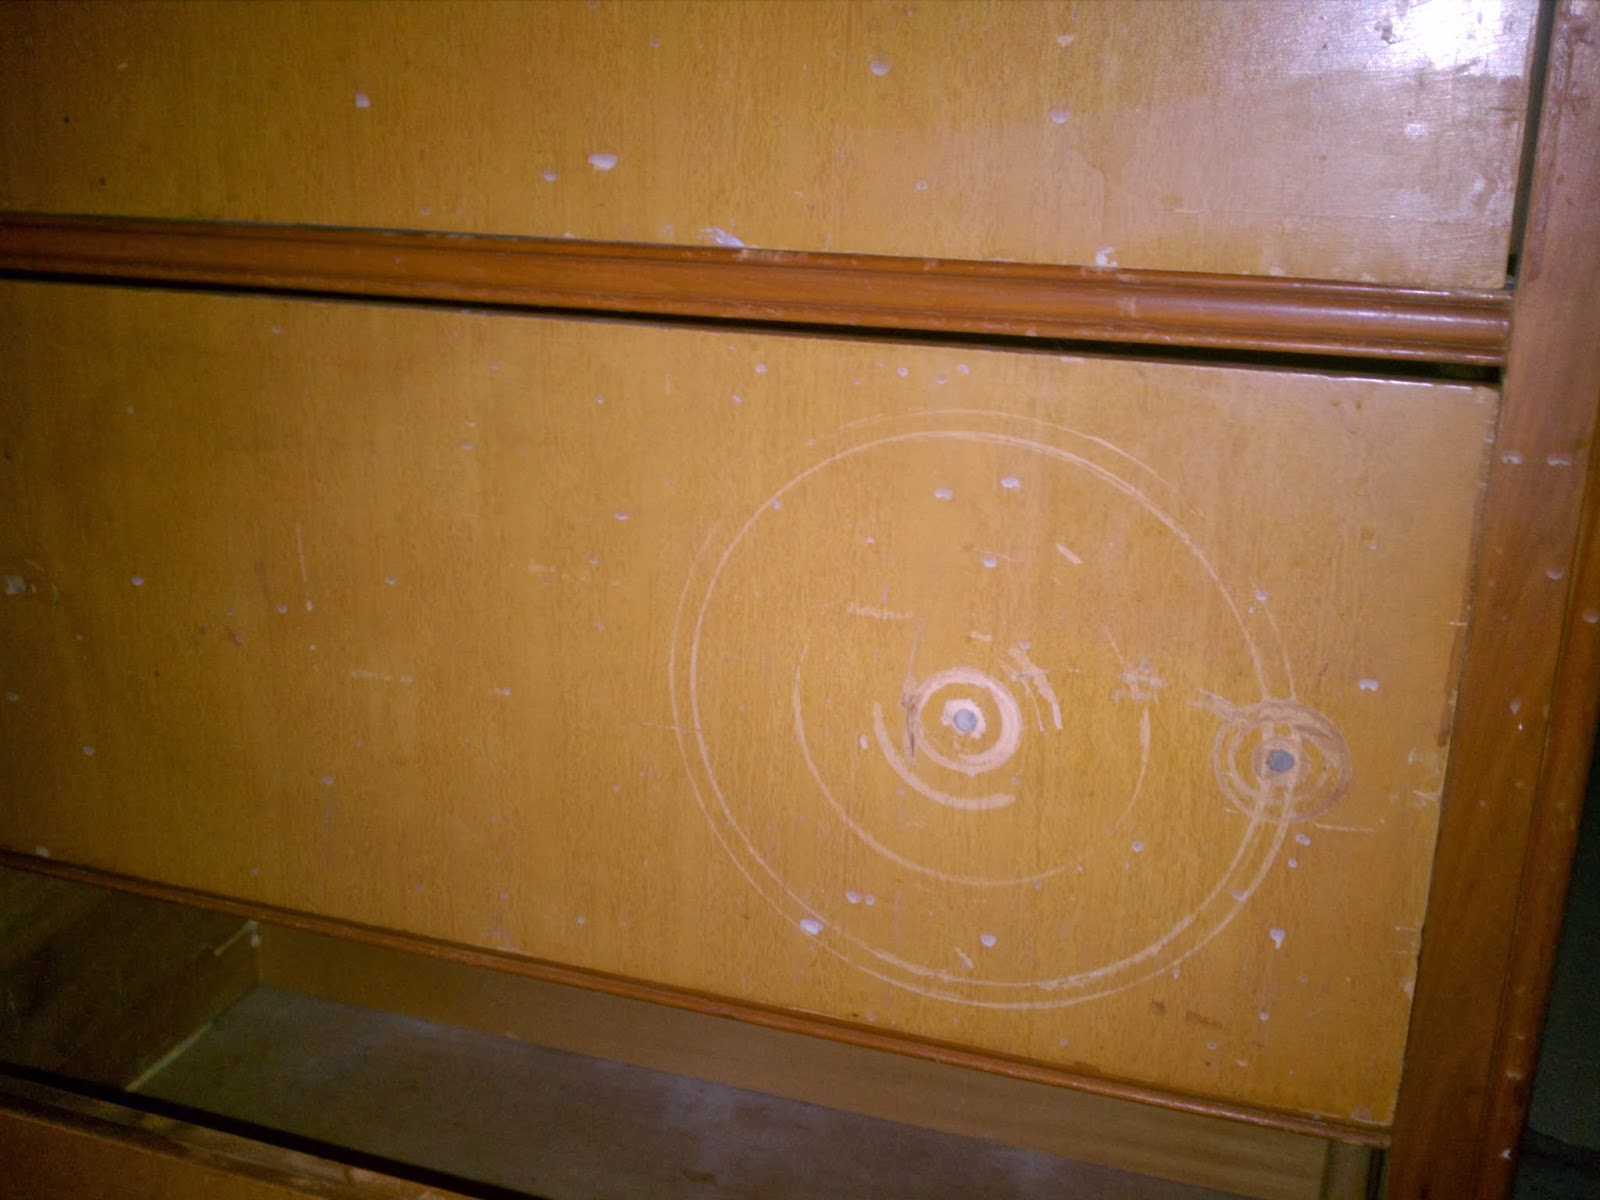
Do you see how deep the circles are from the hardware. Crazy. So I filled it all with wood filler:
Then I sanded the whole thing down. the finish was so old it came off pretty easily,
I didn't have to use the electric sander, just did it by hand.
There it is all sanded.
Then I taped off the parts that I didn't want painted and zinsser primed it with my wooser oil based paint brush. I took a 320 grit sand paper and sanded off any paint lines, drips and inconsistencies.
Then I sanded the wood filler off to make it as smooth and flat as possible (I used 320 grit here also) and Zinsser primed them. I chose a flat beige paint for my color. I used a flat paint because I like to put a finish on top of the paint for better durability. I used Minwax polycrylic water based polyurethane on top of it with a foam brush.
Then I stained it with dark walnut minwax, just one coat.
Then it was time to decide what to do about the hardware.
I thought about just replacing it but this size was a little hard to find.
If they were in better shape I would have left them in their original state
because I think they were originally beautiful:
However they were scratched up and crazy looking.
So I went with an aluminum colored spray paint.
I did this so the dresser can be used anywhere for anyone.
Here they are close up and attached
And here is the final product:
Some close ups of the little details in the wood
The top
and the bottom
I like how it turned out!
Miriam