Here she is in her former glory

I started by washing everything with dishsoap and water. Then I wet the whole thing down and lucky for me all the plant pictures came off with the handy dandy scraper.

See it all came off!

The paint was so old some of it even peeled off (not much came off but a little did)

I wanted to show you what was under the green paint. This layer of hand painted flowers and strawberries!

Cute but still not what I wanted
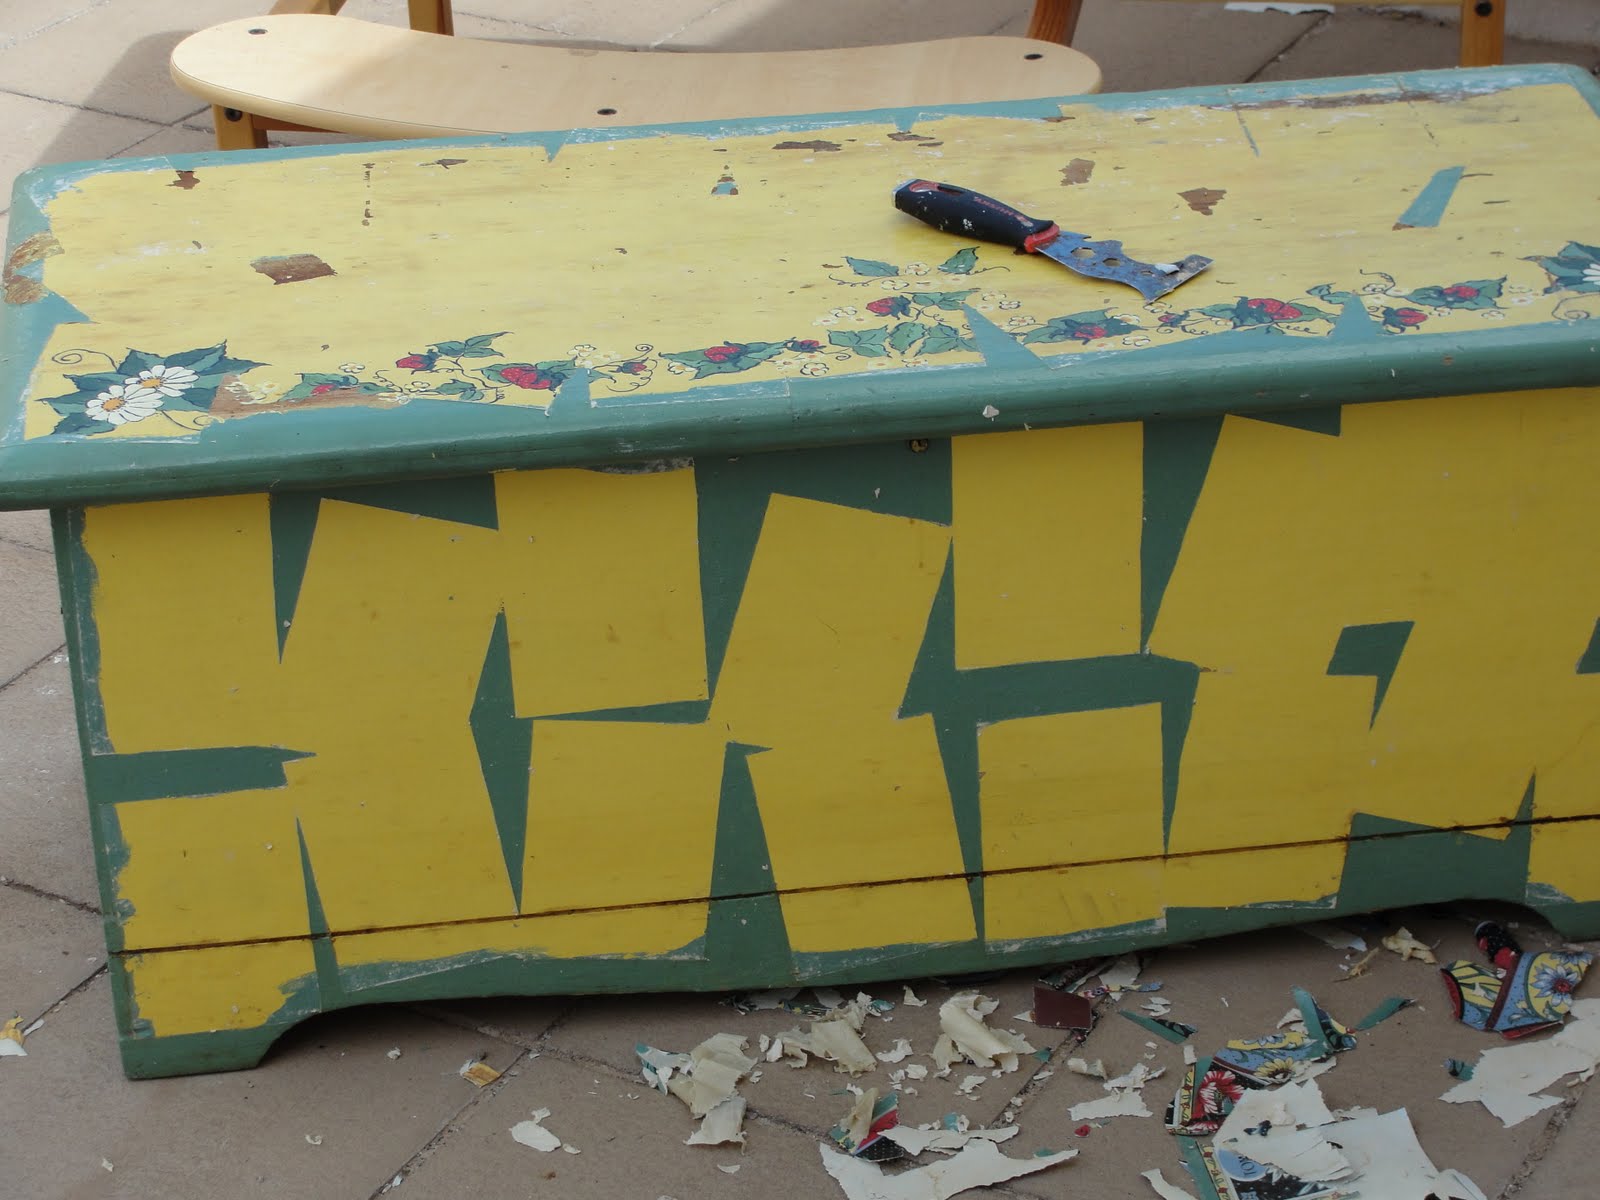
Then I made a MISTAKE and tried to start sanding all the layers of junk off straight away. I should have gone straight to the strong chemical stripper. My sanding stunt caused the paint and modge podge layers to stick to the wood even more. So I went to the chemicals, put on the giant gloves and put a thick layer of the goop down with a cheap paint brush (I poured it into a ball jar so it wouldn't melt the container) This stuff smells like someone who worked out every day for a month and refused to shower. The directions said to wait 15 minutes then remove but I found this to be WRONG. When I waited 15 minutes it dried and wouldn't come off easily. So after 3 layers I finally just applied the chemical goop and removed it straight away and it came off like water! So don't listen to those instructions about waiting if you can see the chemicals eating away at the layer of paint straight away.
There ended up being two layers of modge podge lacquer, 1 layer of green and 2 layers of yellow. I couldn't believe THAT many layers of stuff was on there! The chemical stripper worked great but please wear a long sleeved shirt tucked in and pants! I wore shorts and a tshirt and I got flicked with a tiny bit of the stuff 5 times and it BURNED and burned so wear some protection please! Here she is after the chemicals and a wipe down:

The next step was sanding and sanding and sanding. I used my mouse sander and lots and lots of sand paper. I started with 80 on most of it. I wanted to stain the top so I needed all that junk GONE it took a while. Then I only needed to get the bottom smooth for paint so that part didn't take so long. After all the sanding I found many little dents and things on the body of the chest so I got out the wood filler.

I needed to fill the sides on the top piece because they were pretty bad but I left most of it raw (no wood filler!). I did this because I have used wood filler before on a staining project and while it is technically stain able it looks horrible and unatural with a dark stain. It doesn't pick up the stain like wood.
After this I sanded it all down again with 180 grit and then FINALLY was able to get to the 220 grit. However I realized there were still some dents and things in the top. I didn't mind this I like the used look of the wood but there were still tiny pieces of YELLOW PAINT in there.

Luckily I spotted these when wetting the top down to check how my stain wood take to the wood (a very necessary step!) Here it is after a damp rag:

My husband even saw them! I was almost going to just stain anyway ( I was so sick of sanding) but ended up getting my scrapper and taking the tiny pieces of paint out of the wood. (I am so glad I did! It would have been so ugly with all the little speckles of paint and all that hard work would have been wasted) Then I had to sand it all down again with the 220 and I was ready for stain!

I did one coat of the dark walnut and LOVED the color. I wiped it all off 3 times and let it set for a day. Then I polyurethaned it. Only one coat. My neighbor
Melanie gave me a great tip on being careful to use only one stroke all the way across the wood without trying to go back over and fix it. This prevents the ugly smudged look. GREAT TIP.
I just painted the bottom like a regular piece of painted furniture. Sanded it all down and used a small foam roller.

I did two coats of white eggshell glidden as my primer then one coat of valspar white semi gloss. LOVE IT.
I don't know why this took so long but I am extremely happy with the end result!

And now its all DONE!